


Many people have more than one name and prefer to use just one of those names on Facebook. This is possible with a few simple steps.
We’ll discuss the process of changing your profile’s display name so that it only shows a single name.
With this guide, you can easily transform your multiple-name presence into an easier-to-find single-name identity on Facebook.
So learn here how to make Facebook show your first name only.
How to Make Facebook Show Your First Name Only using VPN (PC, Laptop)
A VPN can provide added privacy and security when accessing Facebook, especially in a country where single-name accounts are not supported.
However, it’s important to note that Facebook may still be able to see your location, even if you are using a VPN, and may deny your request for a single name if they determine it violates their policies.
You may wonder why Facebook allows Indonesian people to have only one name. Well, the answer is simple. Most Indonesian people have just a single name.
So, it is not in the best interests of Facebook to force them to use a second name when they don’t have one.
This added advantage for the Indonesian people will help you get a single name by tricking Facebook if you use a VPN.
Step #1: Install a VPN

Choose a reputable VPN provider and install their software on your PC or laptop.
Make sure to choose a VPN that provides a secure and reliable connection.
However, the main thing you need to focus on is that the VPN of your choosing should have an Indonesian server location such as ExpressVPN.
Step #2: Connect to a VPN server
Open the VPN software and connect to a server of your choice. The server should be located in a country such as Indonesia where Facebook single-name accounts are supported.
Step #3: Log into Facebook
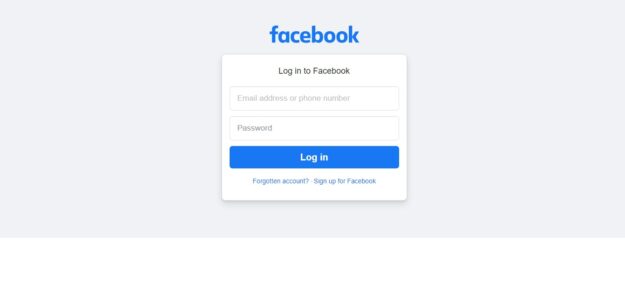
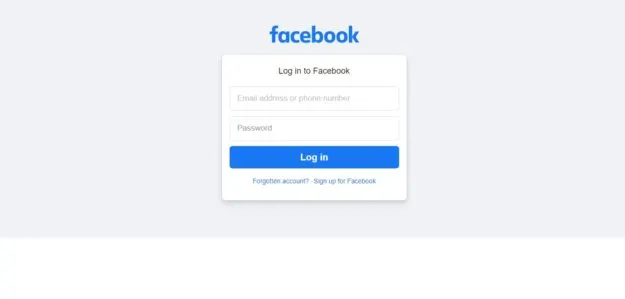
Open a web browser and log into your Facebook account.
Step #4: Check your current name
Make sure your current name on Facebook complies with Facebook’s name policies. If not, change it to an acceptable name before applying for a single-name account.
Step #5: Change language settings

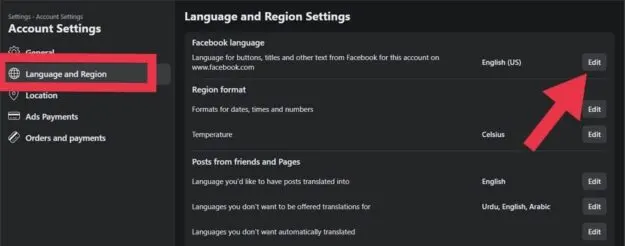
Change your Facebook language to one of the supported single-name languages such as Bahasa Indonesia.
You can change your language settings by clicking on the “Settings” icon on the top right corner of your Facebook homepage and selecting “Language”.
Step #6: Submit your request
Go to the “Settings” section on Facebook, click on “Edit” next to your name, and select “Single Name”. Submit your request and wait for Facebook’s review process.
Step #7: Wait for review
Facebook will review your request and determine if you meet the criteria for a single-name account. This process can take several days or longer.
Step #8: Confirm your identity
If your request is approved, Facebook may ask you to confirm your identity by providing identification such as a passport or driver’s license.
You can confirm your identity by uploading a clear image of your ID in the “Identity” section of your Facebook account.
Step #9: Update your account
If your identity is confirmed, the system will update your Facebook account to a single name.
VPN extensions on Laptop/PC (chrome)
Here’s a step-by-step process for adding a VPN extension to the Google Chrome browser:
Step #1: Open Google Chrome
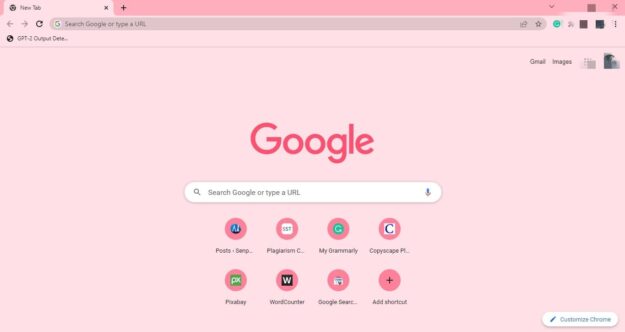
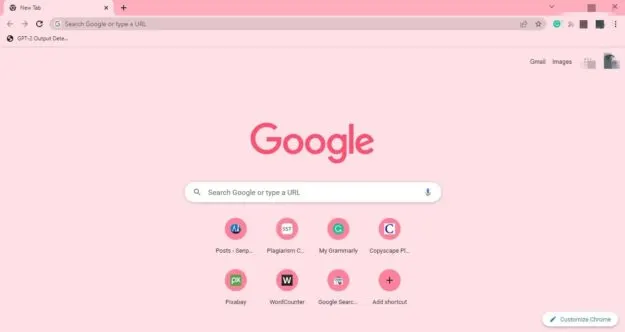
Launch the Google Chrome browser on your PC or laptop.
Step #2: Go to the Chrome Web Store
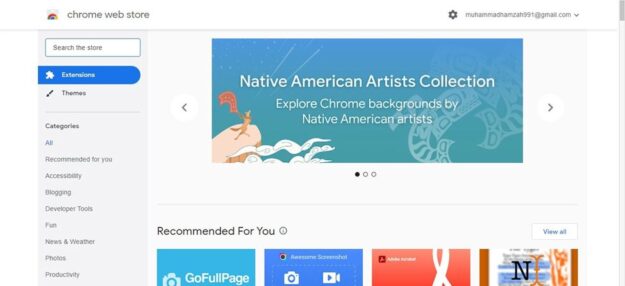

Click on the three dots in the browser’s upper-right corner and select “More tools” followed by “Extensions”.
This will take you to the Chrome Web Store.
Step #3: Search for VPN extensions
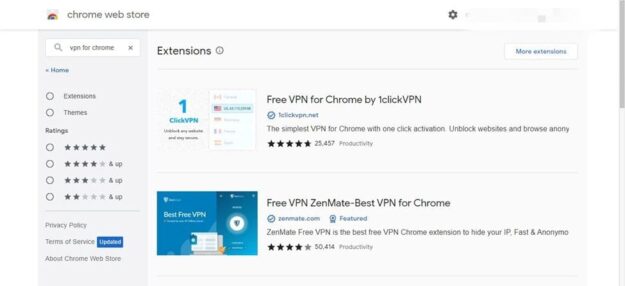
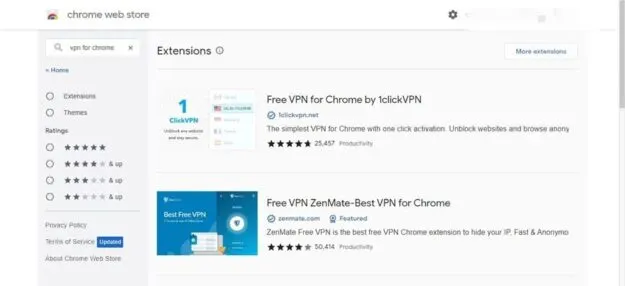
In the search bar of the Chrome Web Store, type “VPN” and hit enter. It will bring up a list of available VPN extensions for Google Chrome.
Step #4: Choose a VPN extension
Select a VPN extension of your choice, and make sure to choose one that has good reviews and is well-established. Some popular options include NordVPN, ExpressVPN, and Surfshark.
Step #5: Click “Add to Chrome”
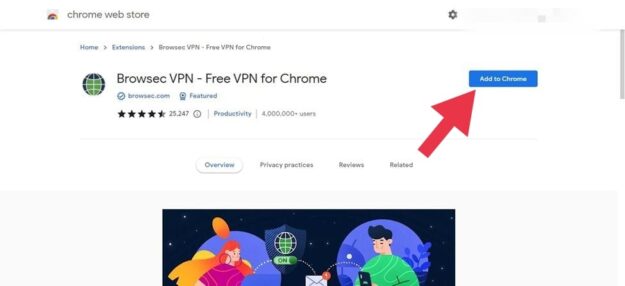

Once you have chosen a VPN extension, click the “Add to Chrome” button. A pop-up window will appear, asking you to confirm the installation.
Step #6: Confirm the installation
Click “Add Extension” to confirm the installation. The VPN extension will begin downloading and installing automatically.
Step #7: Login to the VPN
Once the VPN extension has been installed, click the VPN icon in the browser’s upper-right corner. Enter your login information and connect to a VPN server.
Step 8: Browse securely
Once you are connected to the VPN, your online activities will be encrypted, and you can browse the web securely and privately.
That’s it! With these simple steps, you can easily add a VPN extension to your Google Chrome browser and enjoy a more secure and private online experience.
Just remember to choose a reputable VPN provider and connect to a VPN server before accessing the internet.
How to Make Facebook Show Your First Name Only? [Mobile]
Were you seeking a Facebook option to conceal your real surname? Learn more about this mobile-friendly approach to creating a single-name Facebook account.
Step #1:
Open a mobile browser and enter this URL: https://m.facebook.com/
Step #2:


Enter your Facebook credentials here. In the new window, scroll down until you reach Settings & Privacy and click on it.
Step #3:
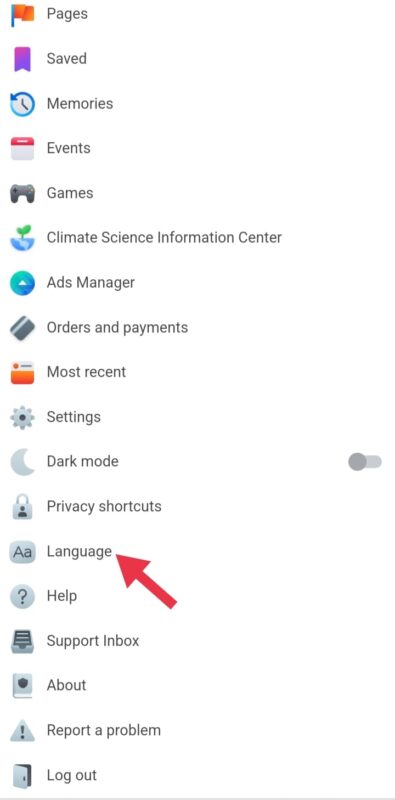

Navigate to the Language menu.
Step #4:
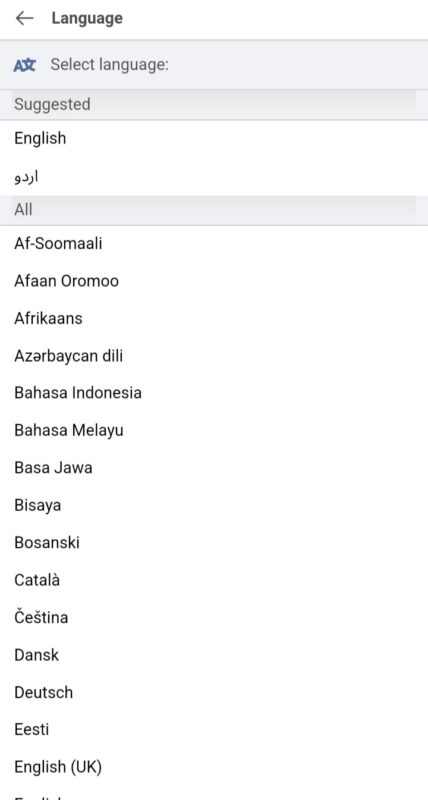
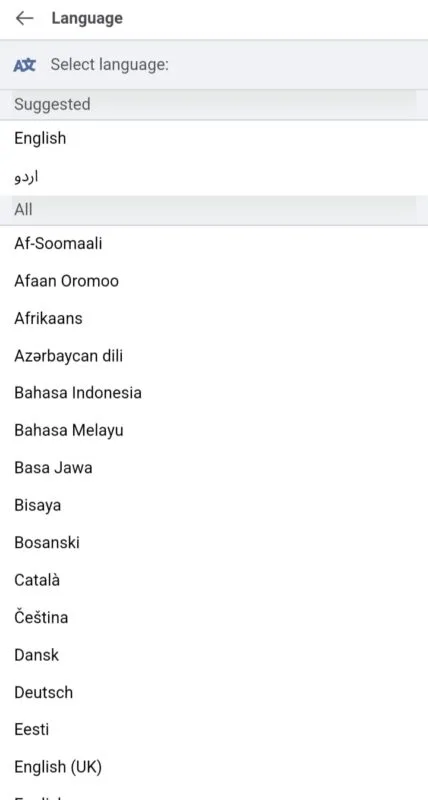
Change your Facebook language to one of the supported single-name languages such as Bahasa Indonesia.
If you want to translate the website and understand the content, I recommend using the Google Chrome web browser.
Step #5:
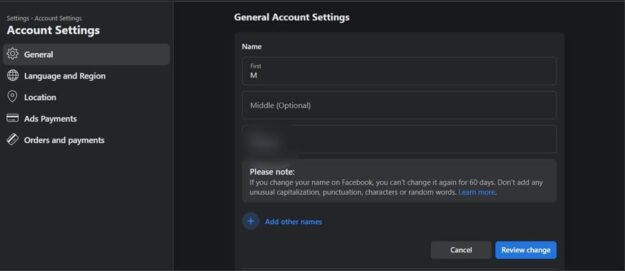
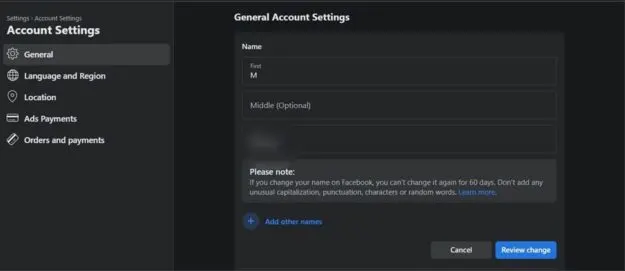
Click Settings & Privacy, then General. Choose Name and then make any more changes there.
Step #6:
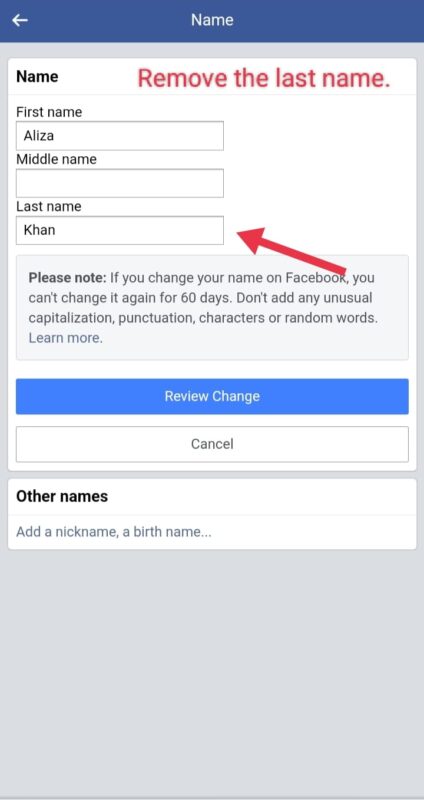
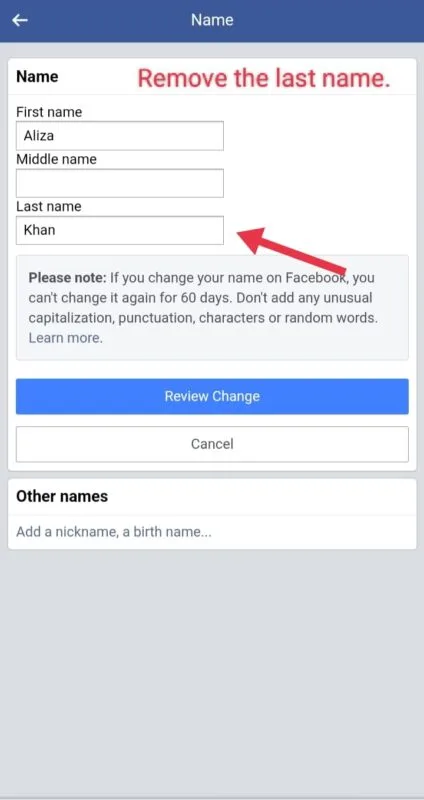
Remove the last Name and click Review Change to see the new Name.
Step #7:
Enter Password to save changes. You can switch back to English if you like.
Congratulations, you have just created a single-name Facebook account on your mobile device!
As far as we know, this is the simplest method for keeping your Facebook identity under wraps.
VPN Apps useful for this purpose
When changing your name on Facebook, a Virtual Private Network (VPN) can be useful for bypassing geographical restrictions and accessing Facebook from a different location.
Here are a few VPNs that can help you change your name on Facebook:
NordVPN
NordVPN is a well-established VPN provider that offers a wide range of server locations and strong encryption protocols, making it a great choice for users who want to change their Facebook name from a different location.
With NordVPN, you can connect to a server in a country where the name-changing restrictions are less strict and change your name on Facebook without any issues.
ExpressVPN

ExpressVPN is a fast and reliable VPN provider that offers strong encryption protocols and a no-logs policy, making it a great choice for privacy-conscious users.
With ExpressVPN, you can connect to a server in a different location, access Facebook, and change your name without any restrictions.
Surfshark

Surfshark is a relatively new VPN provider that offers a wide range of server locations, strong encryption protocols, and a no-logs policy.
With Surfshark, you can connect to a server in a different location, access Facebook, and change your name without any restrictions.
Using a VPN allows you to change your Facebook name from a different location, bypass geographical restrictions, and keep your online activities private and secure.
However, choosing a reputable VPN provider with strong encryption protocols and a no-logs policy is important to ensure your online activities’ best privacy and security.
Is It Dangerous to use VPN on Facebook?
Using a virtual private network (VPN) to access Facebook might deny access.
The social media site records your IP address every time you enter Facebook.
If Facebook detects that you’re accessing the site from an IP address that isn’t related to your location, it may temporarily suspend your account.
If your Facebook account is temporarily disabled because you used a VPN, the social media giant may want you to verify your friendships before reactivating your account.
Identity documents may be requested from time to time.
You should know that there is a chance that your Facebook account may be blocked if you use a VPN based in Indonesia to change your display name.
We don’t believe any harm that may come to your Facebook account due to using our strategy is our fault.
Conclusion
Creating a single-name account on Facebook can be a hectic task for newbies. However, experienced people may know some shortcuts.
The methods mentioned above will help you know how to have a single name on Facebook (and hide your surname).
Also, I hope now you know the dangers of using a VPN while utilizing Facebook.
I also hope this article was of help to you.
For more information, stay tuned.
John
Sunday 20th of November 2022
In November 2022. It doesnt work.
L
Sunday 13th of November 2022
Doesn't work. Used PIA set to Indonesia, hid the fact that I was using a VPN, changed current city and hometown to Jakarta, Indonesia, changed region to Indonesia, and language to Tamil. Have tried Firefox and Chrome with Geo-Proxy. Nothing works. Facebook makes a stalker's job way too easy. Lock it down and delete all the tags you want, naive friends and family will still make it easy to find posts about you. I've been using my middle name as a last name for a while now, but with family members using their real last name and making public posts, that's not really protecting me. I guess it's time to come up with a fake last name and hope I don't get reported. Otherwise, a vulnerable person's only recourse is to leave Facebook and be further isolated from friends, family, organizations, support groups, and their community.
Ryan
Tuesday 25th of October 2022
Didn't work. My VPN is showing Indonesia. However, Facebook still won't let me
K
Thursday 13th of January 2022
Still working January 2022 Thanks!
J
Monday 7th of June 2021
Its not working June 2021. Its turning the last name red indicating there needs to be a last name. Proxy is running.
Calin
Tuesday 8th of June 2021
@J, I tested again and it is still working. Try choosing a different Proxy service.